In Bartow County’s hot stretches, timing is the biggest lever between a green, finished lawn and a patchy, stressed property. Successful sod installation depends on quick root contact, proper grading, and a strict watering schedule in the first month—factors professionals know make all the difference.
This guide frames what professional services include, why scheduling matters, and what homeowners should do after the crew leaves. We’ll explain how heat causes root stress, surface drying, and why coordinating irrigation with sun exposure cuts risk.
Expect a clear timeline for establishment time and practical tips to meet fast turnaround goals while protecting your landscaping investment. The article also previews turf choices plus soil and drainage prep and the make-or-break watering weeks.
Key Takeaways
- Timing in hot weather is critical to help new sod root instead of thinning out.
- Professional crews handle grading, soil contact, and starter fertilizer to reduce risk.
- The first month is the most important window for watering and establishment.
- Choose turf, prep soil, and coordinate irrigation to save water and promote resilience.
- Homeowners who plan ahead get faster, more reliable results and protect property value.
Bartow County heat and new sod: why timing impacts roots, water use, and curb appeal
Timing the day and week for laying fresh turf in Bartow County matters more than many homeowners expect. Short windows of cooler mornings or milder weeks cut stress and lower early watering needs.
How extreme temperatures stress turf during the process
High heat pulls moisture from the grass faster than roots can knit into soil. Fresh rolls have shallow anchoring, so hot, windy days raise the risk of wilting and seams opening up.
What establishment time means for homeowners
Establishment time is when roots grow down from the turf layer into the underlying soil. You can tell progress when edges resist lifting and the lawn feels anchored.
Scheduling around irrigation, restrictions, and sun exposure
- Choose morning placements and cooler weeks to cut water demand and improve early curb appeal.
- Test irrigation coverage before crews arrive to avoid missed zones and uneven moisture.
- Remember full-sun areas dry first; shaded areas need a different watering cadence and may take more time to root.
- Check local watering restrictions and plan work on allowed days to avoid gaps in care.
When to install sod for the best results in warm-weather conditions
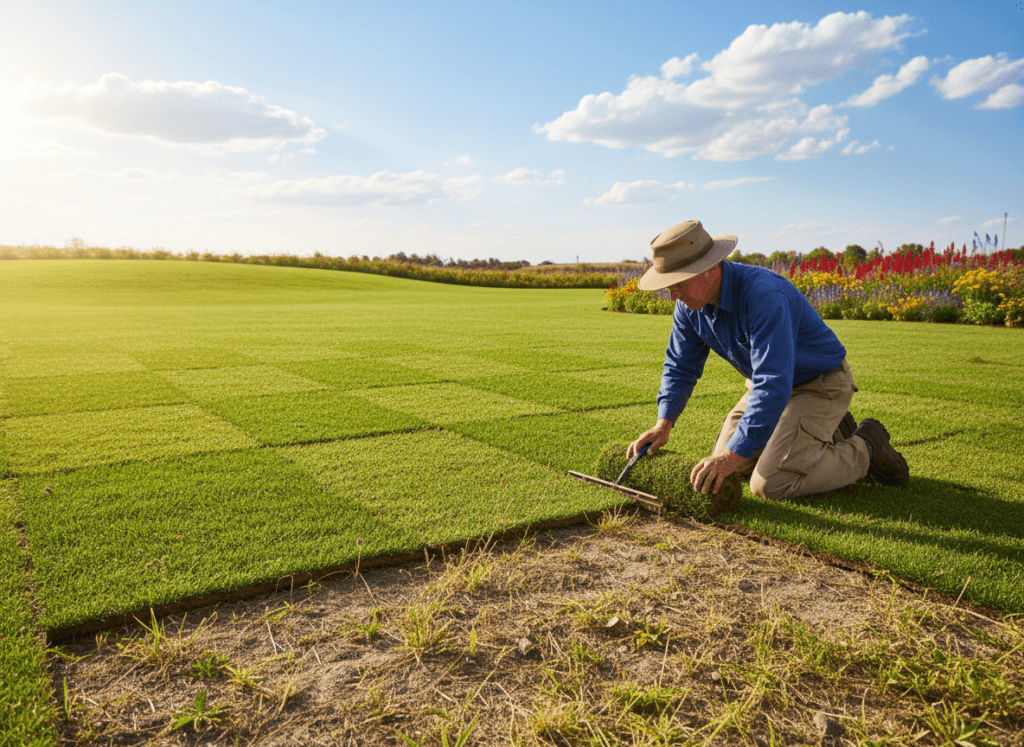
Choosing the right window for laying turf in warm months can make or break root establishment and curb appeal.
Plan work for cooler mornings and weeks when highs and lows are less extreme. This reduces stress and cuts the extra watering new grass needs.
How to choose the right time based on sun, shade, and lawn traffic needs
Full-sun areas dry faster and need more frequent early watering. Mixed sun and shade zones require targeted care to avoid wet spots or dry patches.
If your home needs the yard ready for kids, pets, or events, allow at least three to four weeks before heavy traffic. Fast-looking lawns still need real time to root.
Planning ahead for landscaping projects and fast turnaround expectations
Coordinate turf work with grading, drainage fixes, bed edging, and irrigation repairs. That prevents rework and protects new turf from being disturbed.
Book teams early in peak season; crews fill up and heat waves can force rescheduling. If you want results today, plan for aftercare and irrigation checks first.
| Exposure | Best Timing | Early Watering Needs |
|---|---|---|
| Full sun | Morning placement, milder week | Frequent light watering, 2–3× daily first 2 weeks |
| Mixed sun/shade | Choose cooler days, check irrigation zones | Targeted watering to keep both zones even |
| High-traffic yards | Install well before events (3–4 weeks) | Limit foot traffic; deeper water later to strengthen roots |
Choose grass varieties that match exposure and lifestyle so timing and type work together for lasting results. If you’re ready to move forward, book service today to secure a good window and protect your investment.
Sod installation services: what to expect from a professional team
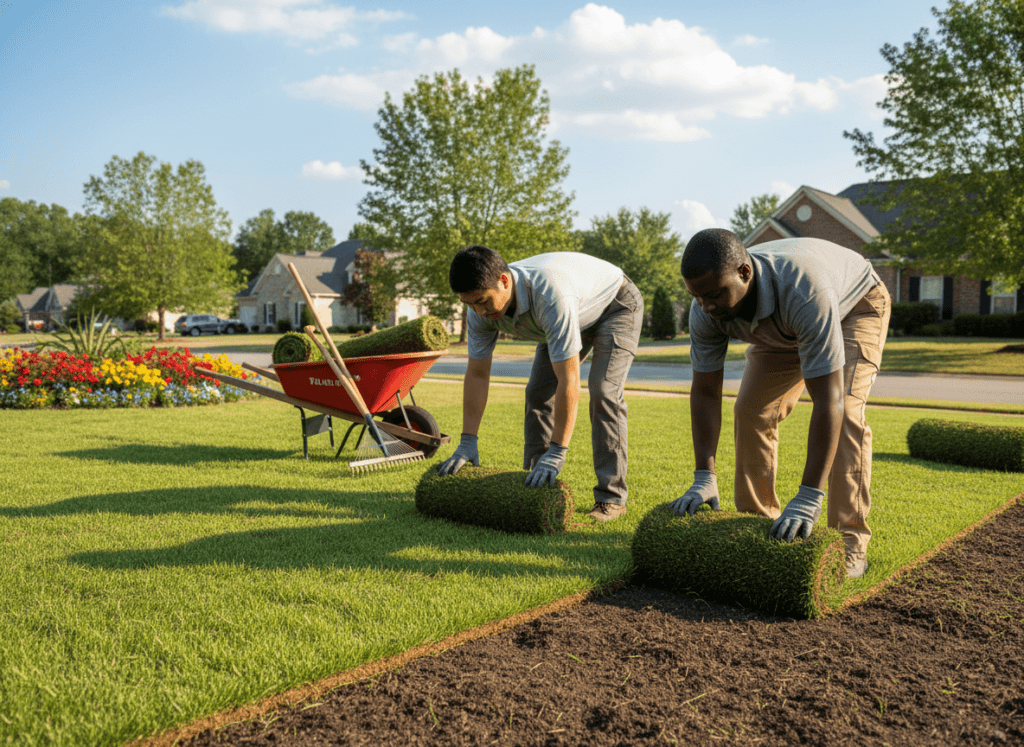
A professional crew follows a clear checklist from clearing old turf to the final roll to ensure fast rooting and tidy results. This section outlines the typical steps you’ll see and why each one matters.
Site prep: remove old grass and weeds
Crews strip existing turf and pull weeds so roots don’t compete with the new layer. Clearing gives fresh contact between new sod and soil for faster root growth.
Grading and new soil
Technicians grade the area to a uniform surface and add topsoil where needed. Proper grade reduces low spots and improves drainage during heavy watering.
Laying, rolling, and appearance
Boards of turf are fitted tightly with staggered seams and trimmed at edges. After placement the crew rolls the area to press roots into the soil and remove air pockets.
Watering and starter fertilizer
Teams apply a deep initial watering immediately to hydrate the new sod and jumpstart roots. A starter fertilizer is added to support early root development and establishment.
Who does what
The team completes the physical work and hands over a care plan. Homeowners follow the watering and traffic rules so roots can set without stress.
| Step | What it does | Homeowner role |
|---|---|---|
| Clear existing grass | Prevents competition and regrowth | Remove obstacles; confirm access |
| Grade and add soil | Creates flat surface and better drainage | Approve grade; mark irrigation |
| Lay and roll | Tight seams, improved soil contact | Avoid foot traffic for 2–3 weeks |
| Water & fertilizer | Hydrates and feeds roots for establishment | Follow watering schedule exactly |
Choosing the right sod for your lawn’s sun, shade, and wear
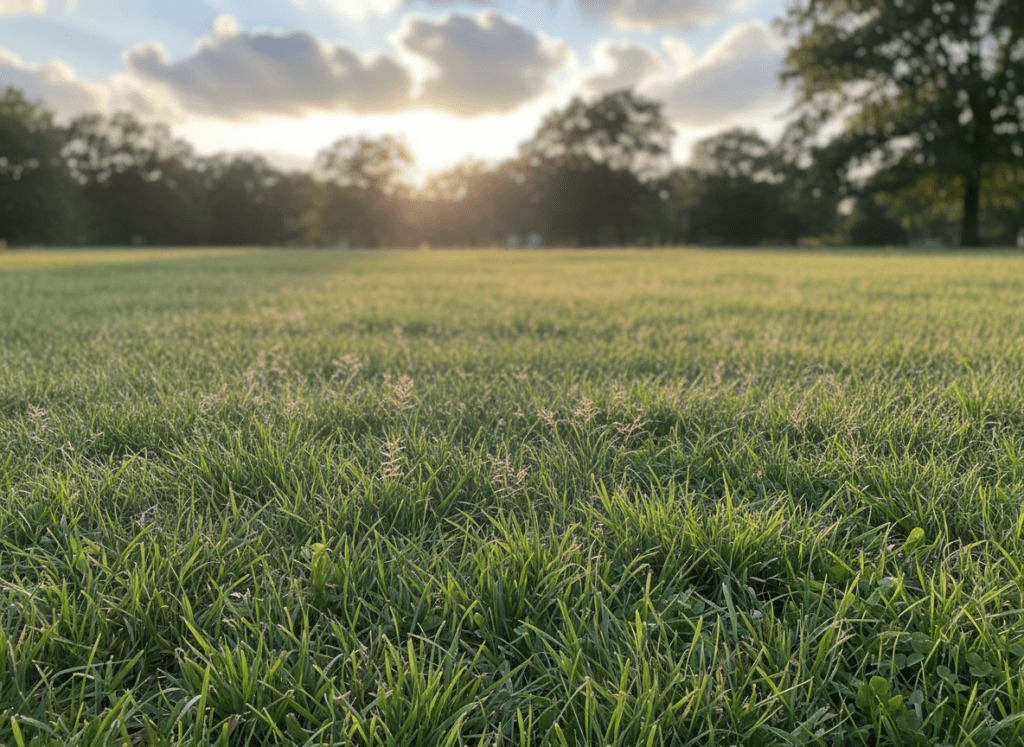
Selecting the correct turf for each microclimate on your property helps lawns establish faster and resist wear. Match grass type to sunlight, shade patterns, and how the yard will be used.
Bermuda grass options for full sun and durability
Bermuda is a top pick where full sun and heavy use meet. It recovers quickly from wear and tolerates heat and drought well.
Zoysia sod for a dense, weed-resistant turf with moderate shade tolerance
Zoysia forms a thick carpet that resists weed invasion once established. It handles sun and light shade but takes longer to settle in.
St. Augustine for shaded areas that need a thick, broad-bladed look
St. Augustine performs best in partial shade and gives a lush, broad-bladed appearance. It may need more water and closer pest monitoring.
- Evaluate microclimates: south-facing slopes, tree lines, and reflected heat near driveways.
- Choose faster-establishing grass where you need quick use; pick dense, shade-tolerant types for low-light zones.
- Right selection keeps curb appeal uniform and cuts the chance of patchy transitions across your property.
| Variety | Best Light | Strengths | Establishment Time | Water Need |
|---|---|---|---|---|
| Bermuda | Full sun | Durable, fast recovery, good for high traffic | Fast (2–4 weeks) | Low–moderate |
| Zoysia | Sun to moderate shade | Dense, weed-resistant, tolerant of wear once set | Moderate (4–8 weeks) | Moderate |
| St. Augustine | Shade to partial sun | Thick, broad blades; great shade appearance | Moderate (4–6 weeks) | Moderate–high |
If exposures vary across your yard, professional guidance helps blend types for consistent results. Proper selection reduces watering needs and protects long-term curb appeal.
Soil, drainage, and surface prep that help sod survive the heat
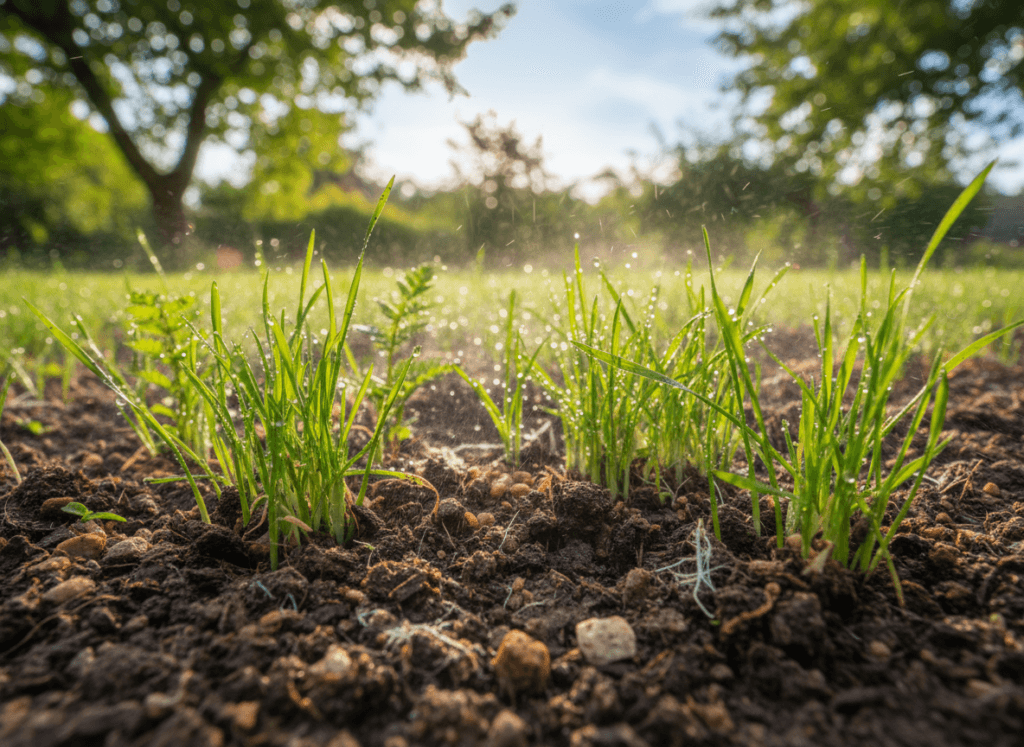
A lawn’s long-term health starts below the blades—topsoil quality and drainage shape establishment more than timing alone.
Why good topsoil speeds rooting and long-term health
Topsoil creates a workable layer that holds moisture while still letting air reach young roots. Healthy soil gives new turf a place to push down quickly and access nutrients.
Fixing drainage to avoid wet spots and shallow roots
Poor drainage creates soggy pockets that limit oxygen and encourage disease. In contrast, high spots dry out and brown fast in heat.
- Grade the surface so water moves away from foundations and low areas are removed.
- Install targeted fixes like French drains or swales where runoff or pooling is chronic.
- Ensure irrigation and drainage work together—early heavy watering needs a site that can handle extra water.
Look for standing water after rain, spongy ground, or erosion channels on your property. Correcting these issues before work begins saves tearing up the landscape later and protects your landscaping investment.
Watering schedule after installation: the make-or-break weeks
A clear, phase-based watering plan during the first month makes the difference between a quick green-up and patchy setbacks. Follow simple steps by day and by week to help roots grow down and protect your property from heat stress.
Day of placement: deep hydration to start strong
On the day crews finish the installation, run a deep soak to wet the soil beneath the turf. This initial water reaches roots and helps prevent immediate heat stress.
First two weeks: light, frequent watering for consistent moisture
For the first two weeks, water lightly but often to keep the surface and root zone consistently moist. Adjust frequency for sun, wind, and local watering restrictions.
Weeks three and four: shift to deeper, less frequent watering
In weeks three and four, begin longer cycles less often to push roots deeper. This transition builds drought and heat resilience as the grass anchors.
After about a month: return to a normal routine
After roughly four weeks, move to your normal watering schedule while watching soil moisture and weather. Reduce sessions during rain and increase after extreme heat.
- Verify coverage: check corners, edges, and strips near driveways for dry patches.
- Timing: pick start dates that match allowed watering days so early watering is feasible.
- Signs too dry: seams shrink, footprints stay impressed; too wet: soggy, spongy turf and lingering puddles.
| Phase | Goal | Action |
|---|---|---|
| Day of | Hydrate root zone | Deep soak immediately |
| Weeks 1–2 | Keep surface moist | Light, frequent cycles |
| Weeks 3–4 | Encourage deep roots | Longer, less frequent watering |
New sod care and lawn maintenance: mowing, weeds, and protecting your investment
Simple, steady routines during the first 30 days protect new sod and speed root development. Early maintenance is about helping roots set, not forcing fast top growth. Follow clear steps so grass establishes evenly and your curb appeal lasts.
When to mow and how to avoid cutting too much
Wait until the turf feels anchored—commonly about 30 days—before the first mowing. Set blades high and never remove more than one-third of the blade in a single pass.
Limiting foot traffic until roots anchor
Keep kids, pets, and parties off the area for roughly the first month. High-sun or sloped zones need extra time; avoiding traffic prevents seams from opening and encourages deeper roots.
Preventing weeds and patchy growth with proper scheduling
Weeds and bare spots usually come from gaps, uneven watering, poor soil contact, or mowing too short. Stick to your watering plan and adjust sprinklers before the first cut.
| Mowing | Traffic | Common causes of patchy growth |
|---|---|---|
| First mow ≈30 days; cut | Limit use ≈4 weeks; no heavy items | Gaps, inconsistent water, poor contact |
| Raise deck for hot weather | Mark zones for children/pets | Early short cuts; missed irrigation |
Homeowners should ask the service team for written care steps, zone watering targets, and a safe-use timeline. Monitor seams, lift a corner gently to test rooting, and watch color shifts on hot afternoons. Consistent care reduces the chance of replacing sections later.
Conclusion
Heat-ready planning — from choosing the right grass to verifying irrigation — is the best way to protect your landscape investment.
Three pillars drive success: pick the correct sod for sun, shade, and wear; fix soil and drainage so roots can grow down; and follow a clear first-month watering schedule to build a green lawn that lasts.
Professional crews should include site clearing, soil grading, tight seams and rolling, a heavy initial watering, and starter fertilizer so you can compare quotes with confidence.
Plan sod installation around irrigation readiness and realistic establishment time if the yard will host kids, pets, or events soon. Good scheduling cuts water waste, lowers patch risk, and speeds curb appeal.
Ready to move forward? Contact a local team for an on-site evaluation and schedule a service today to sync sod work with other landscaping tasks at your home.