What if you could transform your outdoor area from patchy and weed-ridden to lush and vibrant in a matter of weeks? The answer lies in a professional grass sod installation.
This approach offers near-instant gratification. Unlike traditional seeding, which requires waiting for germination, a pre-grown lawn provides immediate beauty and function.
Timing is everything. For the highest survival rate, turf should be set into place within 24 hours of harvesting. This ensures a healthy transition to your yard.
Once laid, the roots need to bond with your underlying soil. This establishment phase typically takes two to six weeks. Homeowners must understand this timeframe for proper care.
Investing in this process saves significant time and effort. You avoid the long, uncertain wait associated with planting seeds. With correct planning, your vibrant new lawn will be the envy of the neighborhood.
Understanding Grass Sod Installation Basics
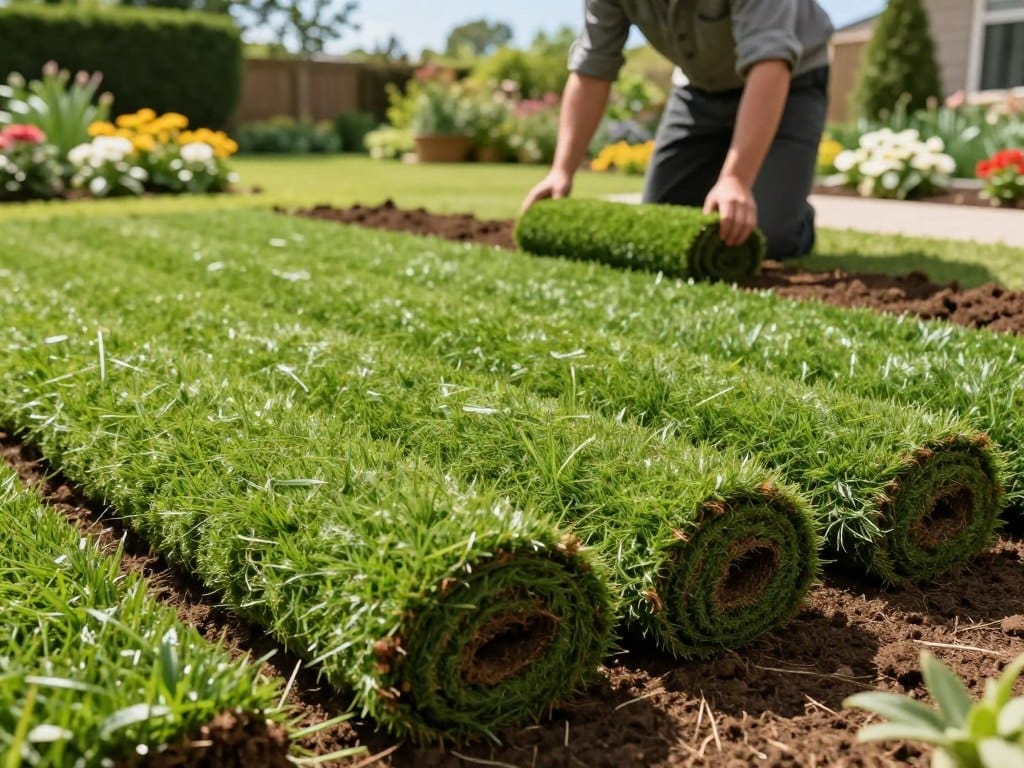
The foundation of any great landscape begins with understanding your options. Before starting your project, grasp the core concepts.
Definition and What is Sod?
Sod refers to pre-grown turf that comes in long, rolled strips. Each strip contains mature grass with roots and a thin layer of soil attached.
This method allows for easy transport and quick coverage. Cool-season varieties are popular for this approach.
In regions like Maryland, the ideal planting window is from mid-August to mid-October.
Benefits of Laying Sod Versus Reseeding
Choosing rolled turf over seeds offers significant advantages. The most notable is time savings.
You bypass the lengthy germination period required for seeding. A fresh, mature lawn appears almost instantly.
This immediate impact is perfect for those who want quick results. While the initial investment is higher, the value lies in the rapid transformation.
Understanding these differences helps you make an informed choice for your yard.
Preparing Your Yard for a New Lawn
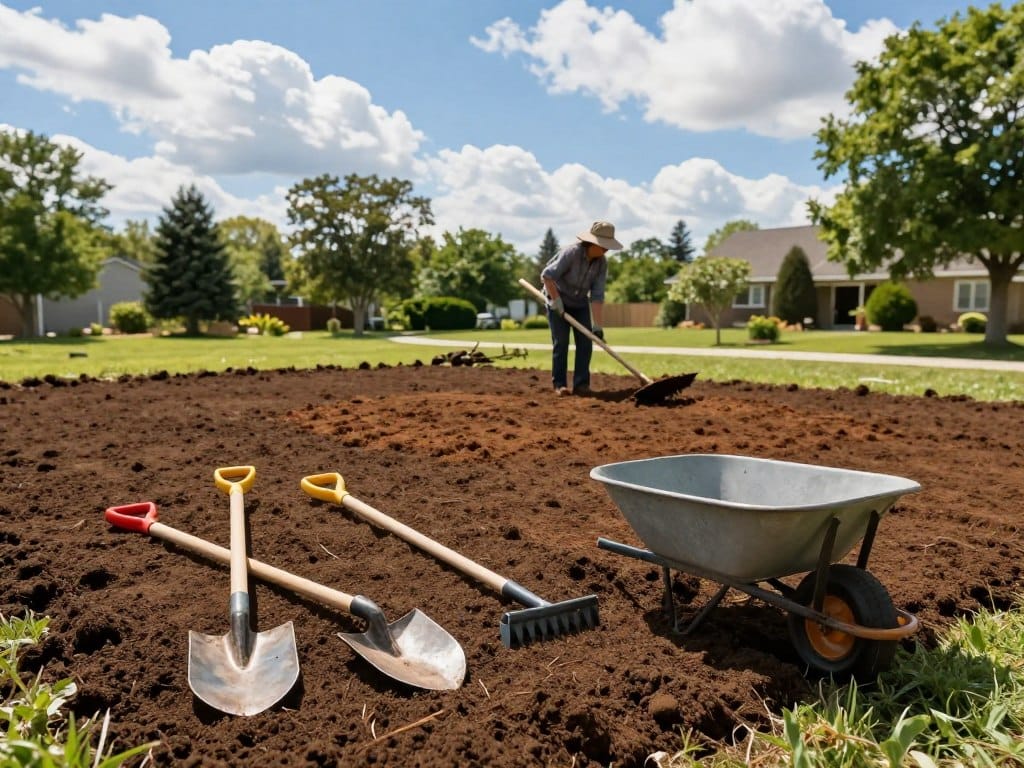
Proper site preparation is the most critical step for ensuring your new lawn’s long-term success. This phase lays the foundation for healthy root growth and vitality.
Assessing Sunlight and Soil Conditions
First, evaluate how much sun your yard receives. Your grass needs “full sun,” defined as six or more hours of direct light daily after trees leaf out.
Next, test your soil. Turf thrives in a pH range of 6.0 to 6.8. A simple test kit reveals if you need to amend the ground.
Clearing, Grading, and Leveling the Area
Remove all old weeds, rocks, and debris from the area. A clean slate prevents future problems.
Then, grade the soil to create a gentle slope. Aim for a 1-2% grade away from your home. This means a 1.25 to 2.5-inch drop over ten feet.
This slope prevents water from pooling. Finally, check the moisture level. If the weather has been dry, lightly dampen the ground before your installation day.
Essential Soil Preparation Tips
The success of your new lawn hinges on the quality of the soil beneath it. Proper conditioning creates an ideal environment for root establishment and long-term health.
Begin by assessing your ground’s texture and structure. If compaction is present, use a rototiller to mix amendments 4 to 6 inches deep. This loosens the earth and improves overall quality.
Raking Techniques and Compost Application
Use a bow rake to level the area and break up large clumps. A loose, even surface allows new roots to penetrate easily.
Incorporate 1 to 2 inches of compost into the top layer. For scale, this equals 3 to 6 cubic yards per 1,000 square feet. This addition boosts drainage and nutrient retention significantly.
If your existing topsoil is thin, add high-quality material to fill low spots. Avoid working the ground when it is wet. Tilling damp earth damages the structure and causes drainage problems.
A well-prepared base ensures quick bonding and prevents air pockets. Your efforts here pay off with a resilient and vibrant landscape.
Grass Sod Installation: Step-by-Step Process
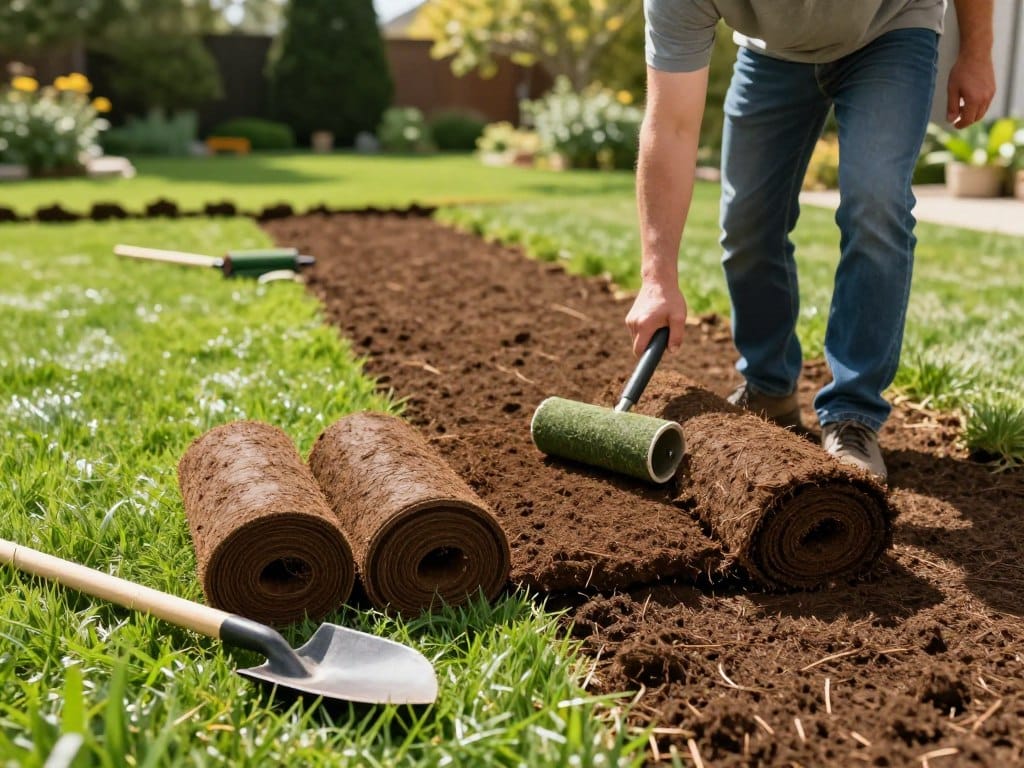
Following a systematic method during this phase ensures uniform coverage and robust root development. Each roll, covering about ten square feet, must be handled with care due to its substantial weight.
Laying Out the Sod in a Brick Pattern
Begin by placing your first row against a straight boundary. This creates a clean, professional line for the entire area.
Always stagger subsequent rows like bricks in a wall. This technique hides the seams and prevents the edges from drying out too fast. It also locks the pieces firmly together, preventing gaps during establishment.
Trimming and Securing the Sod Edges
Use a sharp box cutter to shape pieces around curves or obstacles. Cut from the soil side up through the turf for a clean edge.
Never allow the material to overlap. This can smother the plants and create uneven patches. Butt each piece tightly against its neighbor.
To secure the surface, avoid walking directly on the new turf. Stand on the bare soil or use a plywood plank to distribute your weight. This prevents soil compaction and protects the delicate roots.
Watering and Early Turf Care
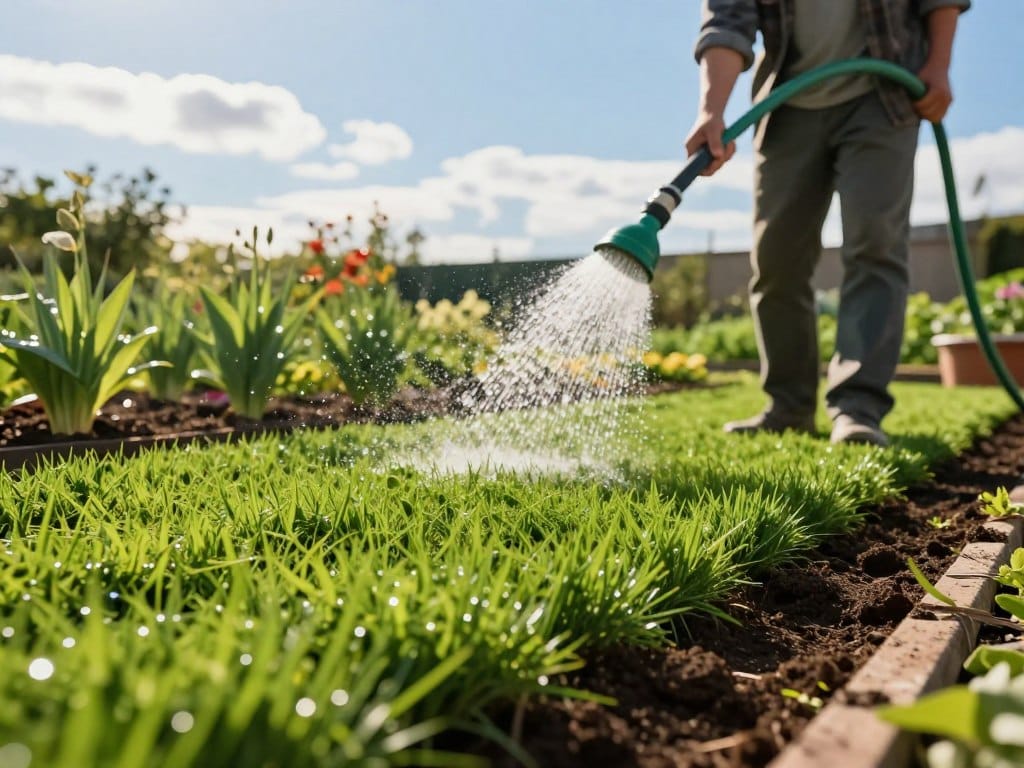
Your work isn’t over once the turf is down. Proper aftercare is essential for a successful outcome. The first few weeks are a critical period where consistent attention makes all the difference.
Establishing an Effective Watering Schedule
Consistent moisture is the top priority. For the first seven days, you must water your new lawn twice a day. This keeps the top inch of soil damp, helping the roots make solid contact with the earth below.
Check that the ground is moist but not muddy. If you see puddles, reduce the amount applied each time. After two to three weeks, you can usually cut back to deep watering just twice per week, unless the weather is very hot and dry.
Protecting New Sod from Disturbance
Keep all foot traffic off the area for at least four weeks. Heavy use can disturb the delicate roots and ruin your hard work. Allow the plants this quiet time to bond firmly in place.
You can check for successful rooting after a few weeks. Gently tug on a corner of the grass. If you feel strong resistance, the roots have properly established themselves in your soil.
Maintenance and Long-Term Lawn Health
lawn maintenance elements.” src=”https://aragonlandscape.com/wp-content/uploads/2026/04/A-vibrant-and-lush-lawn-in-the-foreground-showcasing-several-maintenance-tips-such-as-a.jpeg” alt=”A vibrant and lush lawn in the foreground, showcasing several maintenance tips such as a watering can, a spreader for fertilizer, and a pair of gardening gloves neatly arranged. In the middle ground, a knowledgeable person dressed in professional gardening attire is demonstrating proper lawn care techniques, such as mowing the grass at an optimal height and inspecting the sod for weeds or pests. The background features a serene suburban setting with a well-maintained garden, colorful flower beds, and a clear blue sky. Soft, natural sunlight bathes the scene, creating a warm and inviting atmosphere, while a shallow depth of field gently blurs the background to focus on the lawn maintenance elements.” width=”800″ height=”600″ />
Long-term success depends on a regular schedule of feeding, cutting, and monitoring. This consistent care keeps your landscape resilient and beautiful through the seasons.
Fertilizing, Mowing, and Overseeding Tips
Apply a starter fertilizer about three to four weeks after your project. This replaces nutrients lost during the frequent early watering sessions. It encourages strong, deep root development for a durable surface.
Wait to mow until the plants reach three inches in height. Then, cut it down to two inches using a sharp blade. Never remove more than one-third of the grass height in a single session to avoid stress.
If you have shady spots, overseed those areas with a specialized grass seed mix. Standard turf is often grown in full sun. The right seed blend ensures thick coverage where light is limited.
Regular mowing and fertilization help your lawn grow dense. This thickness naturally crowds out invasive weed seeds. Monitor for signs of stress, like yellowing patches.
Yellowing may indicate that the soil needs additional nutrients or better drainage. Addressing these issues promptly maintains the vibrant green color you desire.
Conclusion
Achieving a lush, green yard is the rewarding result of meticulous planning and dedicated care. Successfully installing sod requires careful soil preparation and a commitment to a consistent watering schedule for the first few weeks.
By following these expert tips, you can transform your outdoor area into a vibrant, healthy space that adds value to your home. Remember, the initial two to six weeks are the most critical period for ensuring your new turf bonds properly with the native soil.
Proper long-term maintenance, including timely mowing and fertilization, will keep your landscape looking its best for years. With the right approach, you can enjoy a beautiful, green lawn ready for family activities.