Imagine a lush, green lawn ready to use in a matter of days instead of waiting through months of watching seeds sprout. Professional lawn sod installation often delivers visible results almost immediately and gets your yard functioning far sooner than traditional grass seed.
Choosing between seeding and sod affects the timeline, durability, and long-term health of your outdoor space. Sod typically shortens the time to a usable yard, helps control erosion right away, and reduces the early-weeds problem that seeded lawns can face.
Successful sod installation depends on proper soil preparation and attentive early care so new roots can knit into the native soil. Followed correctly, these steps lead to a thick, durable turf that establishes in a few weeks and gives you a greener lawn with less waiting.
In this guide, you’ll find practical information and professional tips on timing, site prep, tools, step-by-step laying, and aftercare — everything you need to make sure your new lawn thrives. For a quick sense of what to expect: many homeowners report being able to use their new turf lightly within 2–4 weeks, with full strength developing over a longer period depending on grass type and climate.
Example: a homeowner in a temperate region replaced a patchy front yard with sod and, after careful watering and two weeks of restricted traffic, had a usable, attractive yard in under three weeks.
Read on for a step-by-step lawn sod installation guide, a brief buying guide to choosing the right sod, and practical care tips to protect your investment.
Understanding the Benefits and Basics of Laying Sod
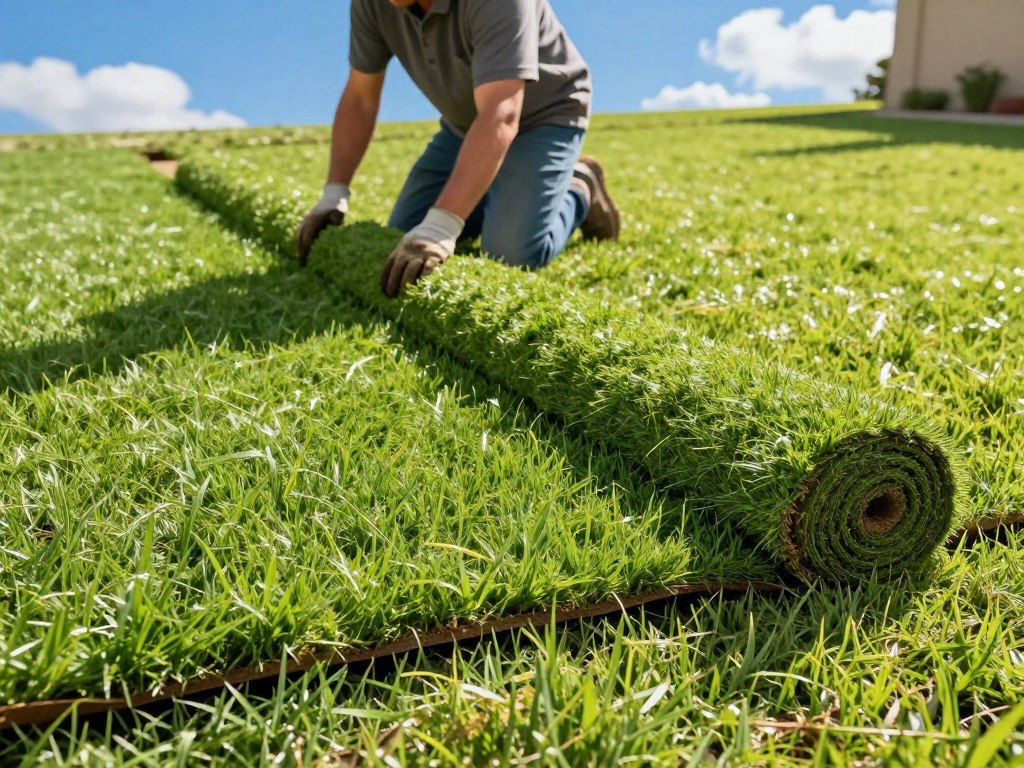
The choice between sowing grass seed and installing pre-grown sod usually comes down to time, immediate impact, and how quickly you need a usable, attractive lawn. This section breaks down the core advantages of choosing sod and gives realistic timelines so you can plan your project with confidence.
Why Choose Sod Over Grass Seed
Sod gives you an instant green lawn and usable surface far sooner than seed. While a seeded area often takes many weeks to germinate, establish, and be ready for mowing—commonly 6–12 weeks depending on grass type—sod visibly transforms a yard the same day it is unrolled and is typically usable for light traffic within 2–4 weeks as the new roots develop.
For best results, coordinate delivery and placement so rolls are laid the same day they arrive; most growers recommend installing new sod within about 24 hours of harvest to preserve turf health, though in cooler climates that window can extend slightly if the rolls are kept shaded and moist.
Key Advantages for Your Yard
A continuous turf mat protects bare soil from erosion immediately, which makes sod a superior choice on slopes, newly graded areas, or places prone to heavy spring runoff. Seeded lawns are more vulnerable to being washed away before they root in.
Root establishment for new sod generally takes about 2 to 6 weeks, depending on grass species (cool-season vs warm-season), soil condition, and watering. Consistent moisture at the soil level is the most important factor during this bonding period; avoid letting the soil dry out completely, and also avoid waterlogged conditions.
Although the initial cost of sod is higher than seed, the value comes from reduced time to a green lawn, better erosion control, and fewer early weeds. In many areas, the higher installation cost is offset by the faster enjoyment and immediate curb appeal of a new lawn.
Quick planning tip: check which turf varieties are best for your region (cool-season or warm-season grass), and schedule installation during the ideal season for that grass type to maximize chances of quick root establishment and long-term success.
Lawn Sod Installation: Preparing Your Yard
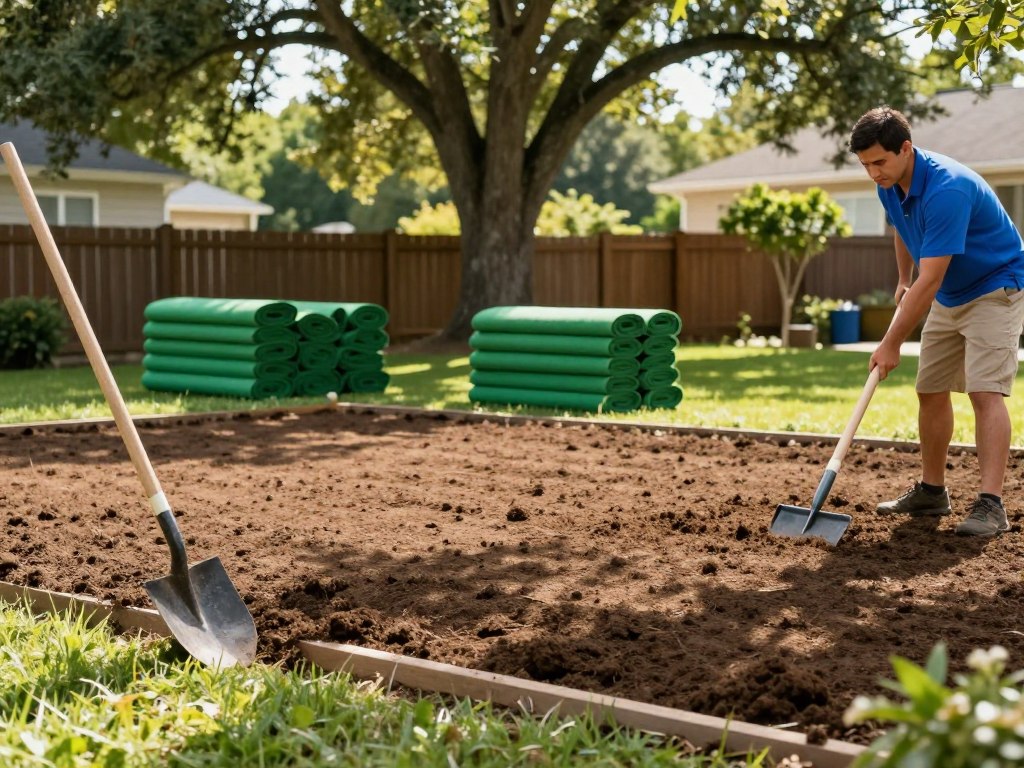
A successful sod installation starts long before the first roll is unrolled. Proper site assessment, grading, and soil preparation give new roots the best chance to grow quickly into the native soil and produce a durable, green lawn. Spend time here, and you’ll save time and maintenance later.
Assessing Your Soil and Yard Condition
Begin by clearing the area of existing vegetation and debris. Old turf, weeds, and roots must be removed so the new sod can make direct contact with tilled soil; otherwise, existing grass will compete with and undermine the new lawn. In most cases, you’ll use a sod cutter or similar machine to lift out the old turf in strips for efficient removal.
Check and set the final grade so the finished soil surface sits about 1 inch below adjacent sidewalks and driveways. That 1‑inch allowance accommodates the thickness of the sod plus any topdressing and prevents raised edges where water can pool.
Take a soil test before you add amendments: pH, nutrient levels, and soil texture (sand, silt, clay) help determine whether you should add lime, fertilizer, or organic matter. A common recommendation is to add 1–2 inches of enriched topsoil or compost over compacted or poor native soil to give new roots a soft, nutrient-rich layer to penetrate.
Essential Tools and Materials Needed
Gather tools and arrange any rentals in advance. You’ll likely need:
- A rented sod cutter to remove existing grass—these machines slice under the root zone and lift turf in strips; typical rental centers carry walk-behind models suitable for most yards.
- A bow rake and garden rake for leveling and smoothing the soil surface.
- A plate compactor (optional) for large areas to ensure an even base, plus a wheelbarrow and shovel for moving topsoil and filling low spots.
- Quality topsoil or compost (1–2 inch layer recommended where soil is poor), starter fertilizer appropriate for new sod, and a soil moisture meter or screwdriver to check compaction/moisture.
Wear gloves, eye protection, and sturdy shoes when operating equipment. Recruit a helper for lifting and unrolling sod rolls—each roll can be heavy and awkward to handle.
Before installation, make sure irrigation is ready: if you use an automatic sprinkler system, check heads for coverage and adjust spacing so the new sod will receive consistent moisture from day one.
Practical Tips for a Successful Sod Installation
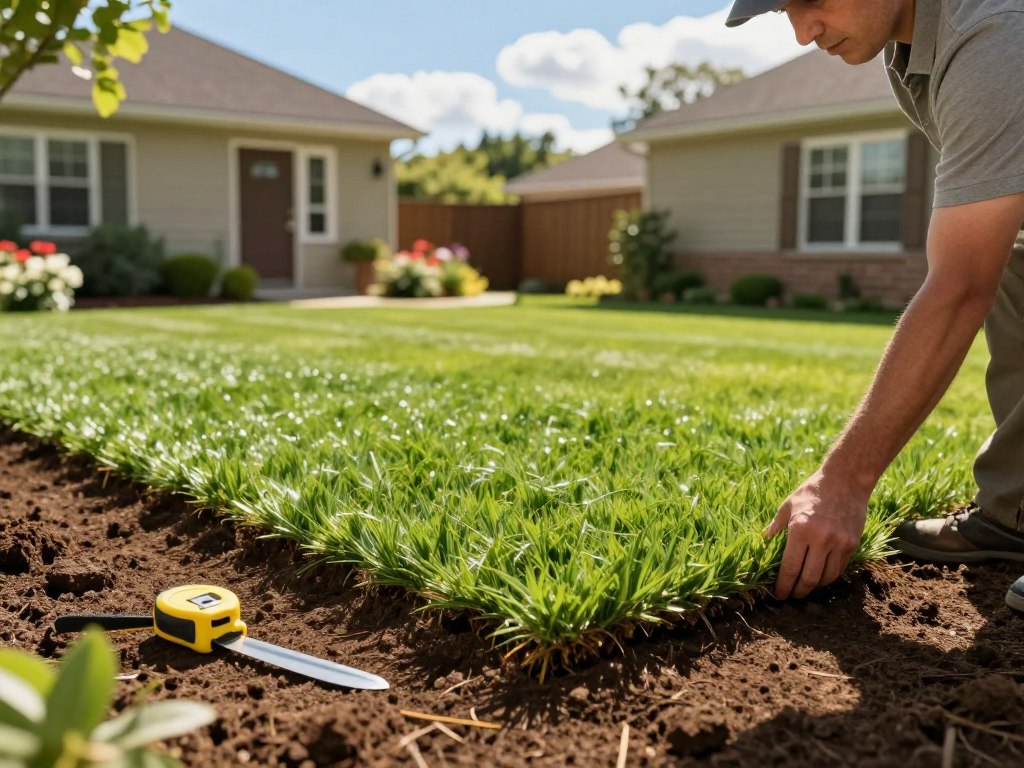
Mastering a few practical steps when you lay sod will greatly increase the chance that your new lawn looks seamless and establishes strong roots quickly. Below are clear, professional tips to guide you through laying sod and caring for it during the critical first weeks.
Step-by-Step Guidance on Laying the Sod
1. Start at a straight edge (driveway, sidewalk, or border) and work backward so you stand on previously laid turf or firm soil — this avoids footprints on freshly prepared dirt.
2. Unroll each piece and place it tightly against the previous roll; stagger seams in a brick-like pattern to reduce shifting and visible lines.
3. For curves or irregular edges, score the turf with a sharp box cutter and trim from the soil side up for cleaner cuts and less tearing.
Quick checklist while you lay sod: keep unlaid rolls shaded and moist (use within 24 hours if possible), have a helper to lift and position rolls, and keep a wheelbarrow or tarp nearby for scraps and waste.
Techniques to Ensure Proper Edges and Even Coverage
Press seams together, but avoid stretching the turf. Fill any small gaps (about 1/2 inch) with loose topsoil or compost to improve contact so new roots can reach native soil. On slopes, lay pieces horizontally across the slope (contour-laying) to reduce erosion and help the new roots establish faster.
If seams begin to separate after installation, lightly tamp the edges with a hand tamper or the back of a rake and dust a thin layer of soil into the seam to encourage root contact; avoid heavy rolling that compacts the soil too much.
Watering and Fertilizing Best Practices
Instead of a rigid twice-daily rule, keep the top 2–3 inches of soil consistently moist without puddles. A practical schedule is to water 2–3 times per day for short periods during the first 10–14 days (morning and late afternoon are ideal), then gradually reduce frequency while increasing run time so roots grow deeper. Adjust frequency for sandy (more frequent) or clay (shorter, less frequent) soils and for hot, dry weather.
Apply a starter fertilizer formulated for new sod according to label rates within the first week to feed new roots, and avoid heavy foot traffic for at least four weeks. Expect to mow the new grass once it reaches about 3–3.5 inches, removing no more than the top one-third at the first mow.
Troubleshooting and Extra Tips
If brown seams appear, check soil contact and moisture; dry soil or air gaps are often the cause. For large projects where you’re re-laying many rolls or rolling sod across a big yard, consider hiring professional help—pros can roll and tamp efficiently and usually have irrigation adjustments ready. Finally, keep an eye on shaded areas and edges near beds or driveways where new grass may need extra water or soil amendment.
Conclusion
Achieving a vibrant, usable outdoor space doesn’t have to take an entire season—lawn sod installation gives you a green lawn and usable yard far faster than starting from seed. Sod installation delivers immediate curb appeal and, with the right follow-up care, a durable turf that handles wear better than many recently seeded areas.
After lawn sod installation, care is straightforward but important: keep the soil in contact with the sod consistently moist so new roots can establish, apply a starter fertilizer per label instructions within the first week, and avoid heavy foot traffic until the turf has rooted in. These simple steps help new sod develop deep roots and become a healthy new lawn.
Typical outcomes: many homeowners see a green, usable lawn for light activity within 2–4 weeks, with full durability increasing as roots thicken. While established sod is more resistant to weeds and wear than a newly seeded area, you may still need normal maintenance—occasional spot-weeding, seasonal fertilization, and overseeding shaded patches—depending on soil and site conditions.
Next steps — a short checklist to protect your investment:
- First 2 weeks: keep the top 2–3 inches of soil consistently moist; water short, frequent cycles adjusted for soil type.
- Weeks 2–4: Reduce the number of watering sessions and lengthen each run to encourage deeper roots.
- First mow: when grass reaches about 3–3.5 inches, cut no more than the top third in the first mowing.
- Ongoing: follow a regional fertilization schedule and test soil pH if growth stalls.
Common quick FAQs: Can sod be used in shade? Some turf varieties tolerate shade better—choose a shade-tolerant blend and expect slower establishment. When can pets and kids use the lawn? Light use is usually acceptable after 2–4 weeks; avoid heavy play until roots are well established.
If you’re ready to move forward, download our buying guide for choosing the right sod variety, or request a free installation estimate from a local pro to get precise pricing and timing for your area. For region-specific advice, check with your local extension service to pick the best installation window for your soil and climate.
With proper preparation, careful installation, and attentive early care, your new sod will reward you with a green lawn and a lasting garden feature that improves your home’s look and usability for years to come.
Take the next step today—get your guide, book an estimate, and start building the lawn you’ll enjoy for years.