“When the well’s dry, we know the worth of water.” — Benjamin Franklin
For most homeowners, drip irrigation suits gardens, containers, and small planting beds, while a sprinkler system works better for a lawn or broad, open yard. The right choice depends on plant type, soil, slope, water pressure, and landscape size. Some properties benefit from a hybrid plan that serves each zone with the right method.
Cost and effort also shape the decision. One large-yard irrigation installation received a professional quote of about $3,500. A DIY project cost roughly $1,800, including tool and truck rental, for an estimated savings of $1,700. However, the work took more than three weeks. A professional crew might finish the same project in one or two days.
A landscape architect’s plan may add about $300, but it can prevent costly mistakes. This guide compares sprinkler systems and drip delivery, then covers zone planning, cost estimates, safe preparation, component installation, and system testing. For practical water-saving ideas, explore drought-conscious irrigation services.
Key Takeaways
- Drip systems target plant roots with less overspray.
- Sprinklers cover turf and wide open areas efficiently.
- Site conditions matter more than system labels.
- DIY work can reduce cost but increase time and effort.
- A clear plan helps improve coverage and limit runoff.
At a Glance: Drip Irrigation and Sprinkler Systems
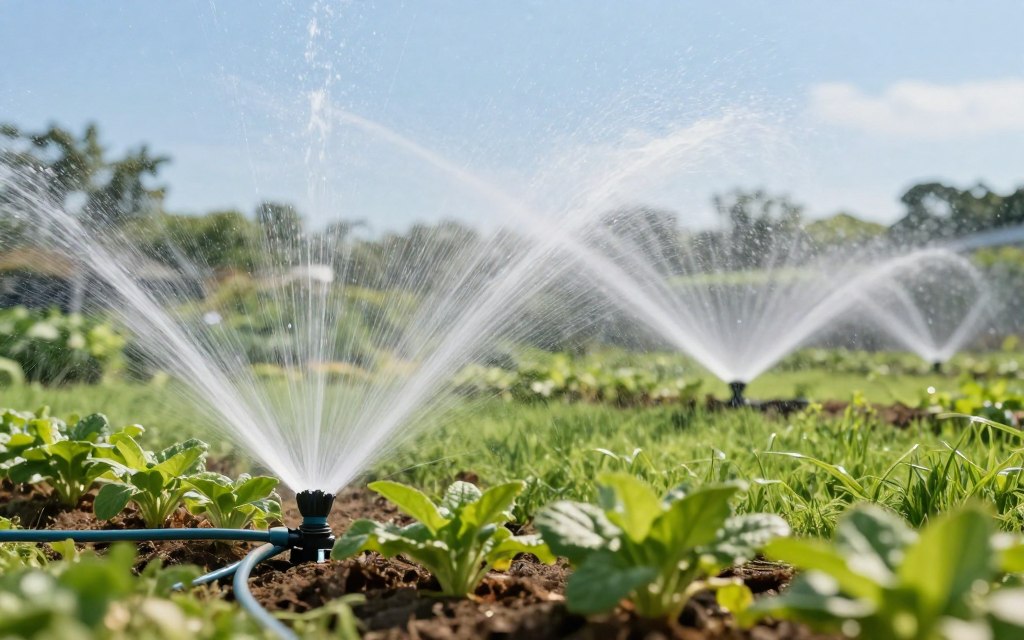
Drip irrigation targets plant roots with precise flow, while sprinkler systems spread water over lawns and open areas. Drip tubing suits beds and containers; sprinkler heads suit turf and broad yard zones. The best choice depends on plant needs, soil, slope, water pressure, and site size.
| Feature | Drip System | Sprinkler System |
|---|---|---|
| Water delivery | Slow flow near each plant | Spray across a wide zone |
| Best applications | Garden beds and containers | Lawn and open planting areas |
| Efficiency | Limits evaporation and runoff | Can lose water to wind |
| Maintenance | Check emitters and tubing | Clean heads and adjust spray |
| Setup and automation | Simple layout; works with timers | More planning; supports smart controllers |
The EPA reports that U.S. homes use nearly 9 billion gallons of outdoor water each day. Poor design and scheduling may waste up to 50% of that amount. A smart system can use Wi-Fi, weather data, sunlight, and seasonal changes to adjust watering.
Before buying equipment, review planning guides from Hunter, Toro, and Rain Bird. Rain Bird may also create layouts from property measurements. For added guidance, explore drip and sprinkler system services.
Drip Irrigation vs. Sprinkler Installation
Choosing between these methods starts with plant shape, soil type, and yard layout. A drip system feeds selected roots, while a sprinkler system creates broad coverage.
How Drip Irrigation Delivers Water to Plant Roots
Emitters release a measured flow beside each plant. Place tubing near plant bases, with lines about 12 inches apart in flower beds. This approach suits vegetables, trees, containers, and narrow areas.
An underground PVC pipe can connect to the tubing through an elbow and vertical riser. Add a pressure reducer and microfilter to protect small outlets from debris and excess pressure. Plant-specific watering also helps limit runoff and evaporation. Learn more in this drip and sprinkler comparison.
How Sprinkler Heads Water Lawns and Open Areas
Pop-up sprinkler heads rise under pressure, rotate through an adjustable arc, then retract. Space each sprinkler about 8–10 large steps apart for even lawn coverage. One residential project used 27 heads and misters, so careful zone planning mattered.
Effective performance often needs 30–35 psi and 10–13 gallons per minute. Limited flow may require fewer heads per zone. Check mowing access, overspray, clogging, and runoff before choosing a layout.
| Feature | Drip Method | Sprinkler Method |
|---|---|---|
| Best fit | Beds and containers | Lawns and open yards |
| Delivery | Root-level flow | Wide spray patte rn |
| Main concern | Clogged emitters | Wind and overspray |
Irrigation Installation Planning for Your Yard
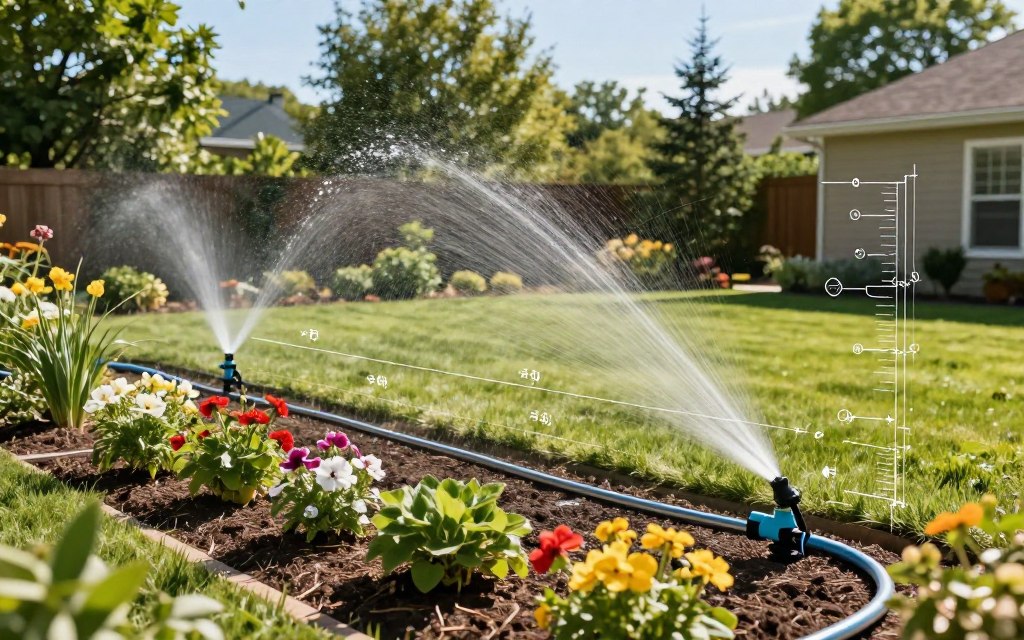
Good planning turns a complex yard project into a clear sequence of small decisions. Begin with a site sketch, then measure available water before buying equipment or choosing a system.
Measure Water Pressure and Flow Rate
Test static pressure with every faucet off, then test working pressure while water runs. Aim for about 30–35 psi and 10–13 gallons per minute. These readings show how many sprinkler heads one zone can support.
Divide the Landscape Into Efficient Watering Zones
Group sunny lawn, shaded lawn, gardens, and tree areas separately. A zone valve opens one section at a time, which protects pressure when the available flow cannot run every head. Keep drip lines apart from spray areas when their schedules differ.
Map Pipes, Valves, Sprinkler Heads, and Drip Lines
Draw the main water line, controller, pipe routes, valve boxes, heads, sidewalks, driveways, and planting areas to scale. Mark roots, compacted soil, and proposed trench paths. Always call 811 before digging.
A $300 landscape plan can simplify difficult layouts. Rain Bird may also prepare a design from property measurements. Local guidance often sets trench depth between 4 and 12 inches. For expert landscape services, request a site review.
| Planning Check | Recommended Action | Why It Helps |
|---|---|---|
| Pressure and flow | Test before selecting heads | Prevents overloaded zones |
| Plant areas | Group by sun and plant type | Matches watering needs |
| Digging route | Call 811 and mark utilities | Reduces safety risks |
Irrigation Installation Costs, Water Use, and Equipment
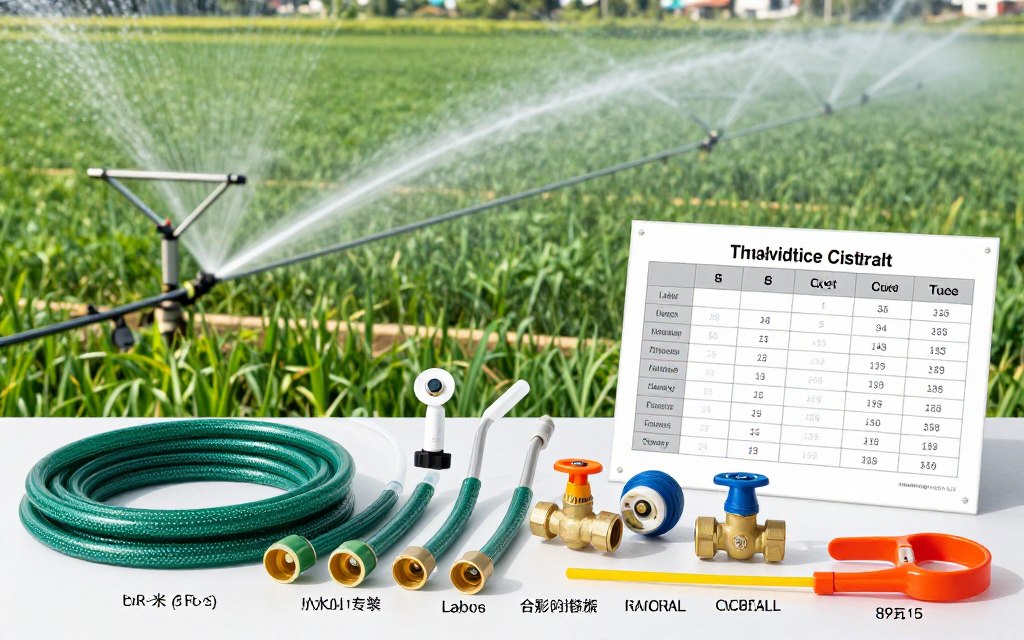
Project costs vary with labor, permits, soil, yard size, and rented tools. In one homeowner’s example, a DIY setup cost about $1,800, including a truck and tool rental. A professional quote for the same work reached approximately $3,500. Compare total cost, physical effort, maintenance, and licensing rules before choosing.
You’ll need PVC pipe, polyethylene swing pipe, drip tubing, sprinkler heads, valves, a valve box, controller, wire, fittings, primer, cement, and digging tools. Add a backflow preventer, pressure reducer, and microfilter when the layout calls for them. A licensed professional can spot connection risks that are easy to miss.
Some municipalities offer a companion meter that may avoid sewer charges on outdoor water. However, one county charged $500 and required several weeks of waiting. A concealed copper-pipe defect also led to a $150 plumber visit.
The EPA reports nearly 9 billion gallons of residential outdoor water use each day. Efficient zones, weather-based controls, and smart watering can reduce waste. Review sprinkler system costs before setting a budget.
DIY Irrigation Installation Preparation and Setup
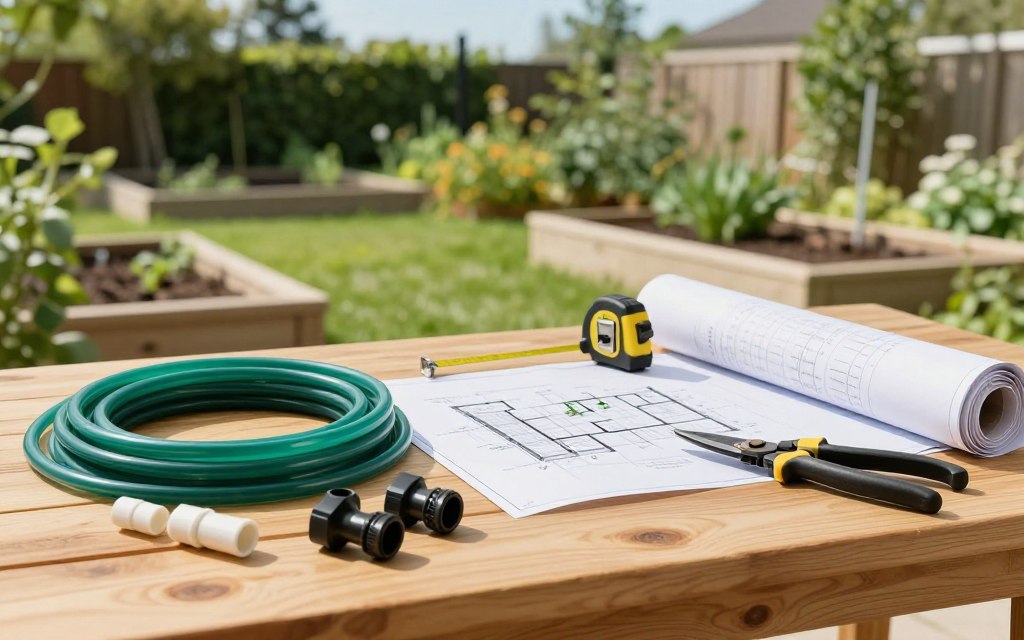
Safety comes first when a homeowner prepares a yard project. Start with a measured plan, then check rules before any digging begins. The right tools and route can save both time and repair costs.
Call 811 and Check Local Permit Requirements
Call 811 several days before excavation. Crews can mark buried electrical, gas, sewer, and water lines. Confirm local permits, too. Hand-dig near marked utilities, and make sure utility marks remain visible.
- Rent a Home Depot trencher for about $88 per day when compacted soil resists hand digging.
- Remove sod in strips and keep pipe ends covered to block dirt.
- Follow local depth rules within the common 4- to 12-inch range.
Choose Trenches, Poly Pipe, or PVC Pipe
Open trenches give clear access for a PVC pipe layout. A vibratory plow can pull poly pipe near 10 inches deep with less surface damage. Avoid buried splices in pulled poly. Protect the 24-volt wire from cuts.
Homeowners can install sprinkler parts, but hire a licensed plumber for the main water connection or a backflow preventer. An electrician should handle controller wiring when local rules require it. Review this sprinkler system guide before work begins.
Installing Sprinkler and Drip Irrigation Components
With the layout marked, assemble each part in a clear order. This approach protects the water supply and makes future service easier.
Connect the Main Water Line and Backflow Preventer
Start at the main water connection. Add a dedicated shut-off valve, then fit the required backflow preventer under local water authority rules. Connect the approved PVC pipe and check every joint for a tight seal.
Install Zone Valves, Valve Boxes, and Controller Wiring
Build the manifold with one electric valve for each zone. Place the valves in accessible valve boxes, and follow each flow arrow. Run 24-volt underground wire from the controller to each valve. Use a separate colored conductor and direct-burial connectors.
- Leave room for service inside every valve box.
- Use an eight-zone controller for six planned zones and future growth.
- Label wires and zones before covering the trenches.
Position Swing Pipe, Heads, and Drip Tubing
Use flexible swing pipe between rigid pipe and each sprinkler head. It allows precise alignment and reduces stress from traffic or frozen soil. Place 27 heads and misters as shown on the plan. In beds, connect drip tubing through a pressure reducer and microfilter. Space lines about 12 inches apart, securing them every 18–24 inches.
Irrigation System Testing, Maintenance, and Seasonal Care
A careful startup confirms that every part works before the yard depends on it. Begin by flushing all lines to remove dirt, stones, insects, and construction debris. Then run one zone at a time and inspect each valve box, connection, and wire.
Record pressure, pooling, runoff, spray coverage, and dry spots during the first test. Adjust each sprinkler head and nozzle so the sprinkler reaches plants without wetting sidewalks, driveways, decks, or walls. A project with 27 heads and misters may need individual adjustments.
- Secure drip tubing every 18–24 inches and keep lines about 12 inches apart.
- Cover tubing with at least 4 inches of bark mulch, while keeping outlets clear.
- Program separate watering times for sunny lawns, shaded beds, trees, and containers.
Smart controllers can use forecasts, temperature, sunlight, and seasonal conditions. Set the system to skip watering before expected rain. Check soil moisture before adding extra water.
Before winter, follow local steps to drain or blow out the system. Protect the backflow device during this work. For ongoing lawn maintenance service, schedule seasonal checks to keep the yard healthy.
Common Irrigation Installation Mistakes to Avoid
Small oversights can turn a well-planned yard project into a costly repair. Check each zone, connection, and control before covering the work with soil.
Overloading Zones and Ignoring Water Pressure
Too many sprinkler heads on one zone can lower water pressure below the useful range of 30–35 psi and 10–13 gallons per minute. Weak spray then leaves dry patches. Test flow with all heads running, and move one head to another zone when coverage drops.
Creating Leaks With Poor Pipe Connections
Keep each pipe run direct. Remove kinks instead of forcing them straight, and repair damaged poly pipe with a coupler. For main-line crimp joints, use two clamps on each side of the fitting. Fully seat every PVC pipe connection, then inspect for leaks before backfilling.
- Flush the line before adding a head, and cover open ends to block debris.
- Use direct-burial connectors to protect valve wire.
- Confirm the backflow preventer has a shut-off valve, removable couplings, and a proper blowout port.
- Call a professional for hidden leaks; one repair cost $150.
| Check | Warning Sign | Preventive Action |
|---|---|---|
| Zone flow | Weak spray | Reduce heads per zone |
| Connections | Wet soil | Inspect before covering |
| Backflow | Failed inspection | Verify local requirements |
Conclusion
Choose drip for focused beds and small yards; use sprinkler systems for lawns and broad landscapes. Confirm pressure, zones, valves, pipe, backflow protection, and testing. DIY installation cost $1,800, saving $1,700 versus $3,500, but took three weeks.
Who should choose drip delivery? Homeowners with gardens, containers, trees, or compact beds should choose drip delivery. It places water near roots and reduces overspray, evaporation, and runoff, especially across smaller yards with varied plant spacing.
What equipment does a residential sprinkler system need? A residential setup typically needs a water connection, backflow preventer, PVC pipe, zone valves, valve boxes, controller, 24-volt wire, swing pipe, sprinkler heads, and fittings for reliable coverage and control.
How can homeowners improve irrigation system efficiency? Measure flow, limit heads per zone, separate sunny and shaded areas, adjust spray arcs, secure drip lines, mulch tubing, and use a smart controller that responds to weather throughout the season.
Why hire a professional? Licensed help makes sense for main water connections, backflow equipment, electrical work, permits, concealed leaks, or pipe near utilities. Experts reduce risk and protect the property during complex projects when needed.