
Sod Installation Guide: How to Get a Green Lawn Fast
Have you ever wondered how to achieve a lush green lawn in record time? The answer lies in effective sod installation. Unlike traditional grass seed, which can take weeks to grow, laying sod offers near-instant gratification. You can have a finished-looking lawn immediately after the process is complete.
This comprehensive guide will equip homeowners with essential steps to transform their patchy yards into beautiful new lawns. While reseeding is an option, nothing beats the speed and convenience of fresh sod. We will also explain how to prepare your property to ensure the best results.
Keep in mind that although your lawn will look complete right away, the sod needs 2 to 6 weeks to bond with the soil beneath. By following our guide, you can avoid common pitfalls that lead to weeds and uneven growth.
Key Takeaways
- Learn essential steps for effective sod installation.
- Understand the benefits of using sod over grass seed.
- Discover how to prepare your yard for new sod.
- Know the bonding timeline for optimal results.
- Avoid common mistakes that can affect lawn growth.
Understanding the Basics of Sod Installation
Achieving a vibrant lawn is possible with the right approach to sod. This layer of established grass is harvested with roots and soil attached, allowing for immediate transplanting. To ensure the best results, it’s crucial to install sod within 24 hours of harvesting. This timeframe maximizes the chances of survival and successful growth.
Laying sod offers a significant advantage over reseeding. Unlike seeds, which can take up to six weeks to establish, sod provides an instant green lawn. This immediate effect is appealing for homeowners eager to enhance their outdoor spaces.
However, the roots of the new sod must bond with the underlying soil. This bonding process typically takes between 2 to 6 weeks. Understanding these fundamentals is essential for anyone looking to create a thriving lawn.
What is Sod and How It Works
Sod is defined as a layer of established grass that is dug up with roots and some soil still attached for immediate transplanting. This guide explains that sod farms harvest the grass in long strips and roll it up, soil side out, for efficient transport and installation.
Benefits Over Reseeding for a New Lawn
According to industry standards, you should always buy sod that can be harvested and delivered the same day you will be installing it. This practice ensures a healthy start for your new lawn.
Preparing Your Yard for Laying New Sod
To ensure your new grass thrives, proper yard preparation is essential. Start by removing any old grass and debris. Renting a sod cutter makes this task easier, allowing you to remove the grass and roots in long strips. Dispose of the old grass by adding it to your compost pile or checking with a local garden center for disposal options.
Next, focus on leveling the soil. Use a bow rake to break up any large chunks of dirt, creating a smooth surface for the new sod. It’s important that the finished, leveled soil is about 1 inch below all paved surfaces. This height allows enough vertical room for the new sod to settle in properly.
For optimal results, consider adding a layer of Scotts® Turf Builder® LawnSoil™. This product helps new roots bond quickly with the native soil in your yard, promoting a healthy lawn.
Essential Tools and Materials for a Successful Installation
The success of your new lawn largely depends on the tools and materials you use. Proper equipment not only simplifies the process but also ensures a healthy establishment of your grass. Here’s a quick overview of what you’ll need.
Required Equipment and Tools
To perform a professional sod installation, you will need to rent a sod cutter. This frame with a sharp blade efficiently cuts under grass roots, making removal easy. A garden rake, or bow rake, is essential for leveling the soil and breaking up large chunks before laying the sod.
Materials List: Fertilizer, Rakes, Rollers and More
Once the sod is laid, using a lawn roller filled halfway with water helps press the sod into contact with the soil. This step is crucial for removing air pockets. Additionally, have a box cutter or sharp knife ready to trim the edges of the sod for a clean fit against your landscaping.
Finally, consider having a high-quality starter fertilizer, such as Scotts® Turf Builder® Starter® Food for New Grass, on hand for the post-installation phase. This will support the new grass as it establishes roots.
Step-by-Step Guide to Laying Sod
Creating a beautiful lawn involves strategic steps that ensure your sod takes root effectively. Start by dampening the soil with a sprinkler or hose. This will help prepare the ground for the new grass. After moistening, rake out any footprints left behind to create a smooth surface.
Next, unroll the first roll of sod against the longest edge of your landscaping. Make sure the entire length makes contact with the soil below. Lay the rolls out in a brick-wall pattern, staggering the cuts to prevent gaps. Be careful not to overlap the edges.
As you lay the sod, stand on the bare soil. This technique prevents the newly placed sod from shifting. If you walk on the fresh rolls, your weight can cause gaps that are difficult to fix. Back up as you go, laying the sod in front of you for a seamless installation.
Effective Sod Installation Techniques
Achieving a flawless lawn requires specific techniques during the installation process. Proper methods can significantly enhance the growth and appearance of your new grass. By following these tips, you can avoid common pitfalls that lead to gaps and overlaps.
Key Tips for Preventing Gaps and Overlaps
One effective strategy is to lay the sod horizontally across sloped areas. This technique improves water retention, ensuring your lawn stays lush and healthy. After laying the sod, any excess should be folded back. Use a box cutter to trim the edges, making sure you do not leave any gaps.
For the cleanest edge, always cut from the soil side through to the grass side. After trimming, pat down the new edge firmly. This action ensures the sod is flush with surrounding surfaces and properly bonded to the ground.
Differentiating Techniques for Flat and Sloped Areas
When working on flat areas, proper staggering of seams is critical. This method prevents the sod from shifting or drying out during the initial rooting phase. Following these installation techniques will help you achieve a thriving lawn.
Post-Installation Care and Maintenance
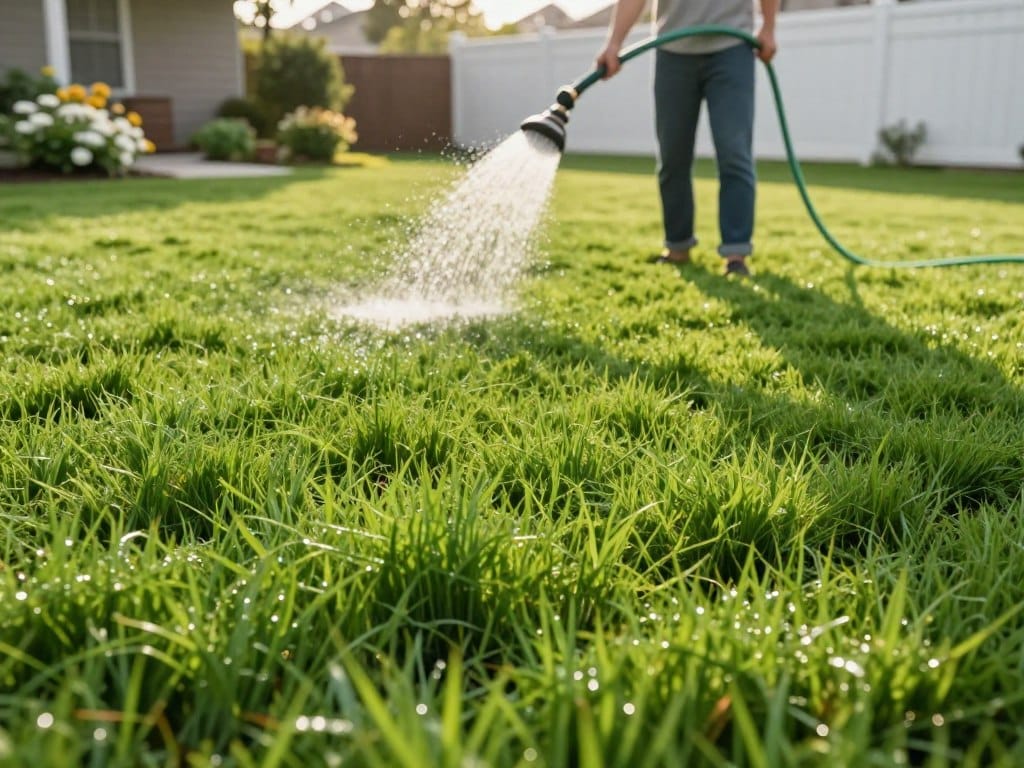
Caring for your newly laid grass is essential for its successful establishment. The right maintenance practices will ensure that your lawn thrives and looks its best.
Initially, water the new grass twice a day for the first 2 to 6 weeks. This frequency helps the roots develop and bond with the soil beneath. After the first watering, gently pull back a corner of the sod to check that the soil below is moist but not muddy.
Applying a starter fertilizer, such as Scotts® Turf Builder® Starter® Food for New Grass, will also encourage root growth. For the first four weeks, minimize foot traffic on the new lawn. This will prevent disturbing the delicate roots forming underneath.
Once the sod has bonded with the soil, you can start a regular fertilization program. Begin this 6 to 8 weeks after installation, using products like Scotts® Turf Builder® Lawn Food for optimal results.
For more detailed guidelines, check out this post-installation care guide.
Overcoming Common Challenges in Sod Installation
Installing new grass can come with its own set of challenges that require careful consideration. Uneven soil and high-traffic areas are two common issues that many homeowners face during the process. Addressing these challenges is crucial for achieving a thriving lawn.
For areas with uneven soil, it’s essential to level the ground before laying sod. This ensures that the grass roots have a solid foundation to grow. If your yard has slopes, consider using Zoysia grass, which adapts well to both sun and partial shade.
In high-traffic areas, Bermuda grass is a popular choice in Charlotte. It spreads quickly and withstands heat effectively. If you have shady spots, lightly overseeding with a mix like Scotts® Classic® Grass Seed Sun & Shade Mix® can help fill in those areas. Avoid St. Augustine grass in colder climates, as it may not survive harsh winters.
Ultimately, this guide emphasizes the importance of matching your grass type to your specific needs, ensuring a lush and healthy lawn.
Strategies to Mitigate Installation Disruptions
Establishing a successful lawn requires careful planning to avoid disruptions during the process. Setting clear boundaries is one of the most effective ways to protect your new grass.
Use flags or tape to keep pets and children off the fresh sod for at least two weeks. This will allow the roots to establish properly without interference. It’s also important to avoid mowing for about two weeks after installation.
To ensure your new lawn receives adequate hydration, establish a watering schedule right after planting. Watering early in the morning and in the evening is ideal for maintaining moisture levels.
Hold off on all yard activities during this critical adjustment period. Wait until the sod roots do not pull up easily when tugged, which typically takes about two weeks.
| Strategy | Details |
|---|---|
| Set Boundaries | Use flags or tape to keep off the area for at least two weeks. |
| Watering Schedule | Water early morning and evening for optimal hydration. |
| Avoid Mowing | Do not mow for about two weeks to protect the new grass. |
| Limit Activities | Refrain from yard activities until roots are established. |
Choosing the Right Sod Supplier

Finding a reliable supplier is key to achieving a lush lawn. Selecting the right source for your sod can make a significant difference in the quality and results of your new grass. A fresh delivery ensures that your sod is healthy and ready for installation.
When choosing a supplier, look for those who can provide sod that is delivered and installed within 24 hours of harvesting. This timeframe maximizes the chances of successful growth. If you need to store the sod after delivery, keep the pallets in a shaded area. This prevents root damage caused by direct sunlight.
Here are some important considerations:
- Do not stack sod rolls too high; this can cause heat and moisture buildup, harming the grass.
- Only unwrap the sod right before laying it down. Extended exposure to air can lead to drying and color loss.
- Check for signs of yellowing or warming soil under the rolls. These indicate that the sod needs to be planted immediately.
Incorporating Expert Tips and Real Customer Experiences
Customer experiences reveal valuable insights into the process of laying new grass. Many homeowners have shared their stories, highlighting the importance of choosing a reliable supplier. For instance, Matt L. praised CT Sod for providing a seamless experience with high-quality grass.
Another customer, Joseph Finnegan, noted that CT Sod went above and beyond. When weather delayed his delivery, the crew installed the sod free of charge to compensate for the inconvenience. Such gestures enhance customer satisfaction and build trust.
Additionally, Alice Pepplow successfully tackled her installation project. She began by removing weeds and tilling the site to improve heavy clay soil conditions. This preparation proved essential for her success.
Reviews consistently emphasize the importance of clear communication regarding delivery windows. Kayla from CT Sod received commendations for her effective communication, which contributed to a successful project.
These real-world experiences demonstrate that with the right preparation and high-quality product, you can achieve stunning results for your home.
| Customer | Experience |
|---|---|
| Matt L. | Seamless experience with high-quality grass. |
| Joseph Finnegan | Free installation due to weather delays. |
| Alice Pepplow | Improved soil conditions led to successful DIY installation. |
| Kayla (CT Sod) | Clear communication on delivery windows. |
Planning for Soil Amendments and Long-Term Lawn Care
Understanding the foundation of your lawn is crucial for long-term success. Proper soil preparation ensures that your grass has the nutrients it needs to thrive. This section will guide you through essential steps like soil testing and pH balancing.
Importance of Soil Testing and pH Balancing
Before you lay down new grass, it’s vital to take a soil test. This test checks for pH, nutrients, and organic matter, ensuring the ground is ready for new growth. Aim for a soil pH between 5.8 and 6.5, which is ideal for most popular grass types.
If your soil test indicates a need, you can add lime to raise the pH or sulfur to lower it. Roto-tilling the ground to a depth of 3-4 inches and mixing in compost or starter fertilizer based on your soil test findings is also beneficial.
Developing a Fertilization and Maintenance Schedule
Long-term lawn care requires a consistent schedule. This includes deep watering and regular fertilization to keep the grass thick and healthy. Proper preparation of the ground, including leveling and amending the soil, is the foundation for successful sod delivery and ongoing lawn care.
| Soil Preparation Steps | Details |
|---|---|
| Soil Test | Check for pH, nutrients, and organic matter. |
| pH Balancing | Aim for 5.8 to 6.5; adjust with lime or sulfur. |
| Roto-Tilling | Till the ground to a depth of 3-4 inches. |
| Fertilization Schedule | Include deep watering and regular feedings. |
Conclusion
Transforming your yard into a vibrant green space can be a quick and rewarding endeavor. By following this guide, you have learned essential steps for soil preparation, proper installation, and long-term care to ensure your investment thrives.
Fresh grass requires consistent watering and minimal foot traffic for the first few weeks to allow the roots to bond effectively. Whether you decide to lay the sod yourself or hire professionals, the quality of the product and the care you provide will dictate your final results.
We hope these tips and techniques help you enjoy a lush, healthy lawn that serves as a perfect outdoor space for your family and friends.

One Response